Yard Machine 42 Inch Riding Mower Manual: A Comprehensive Guide
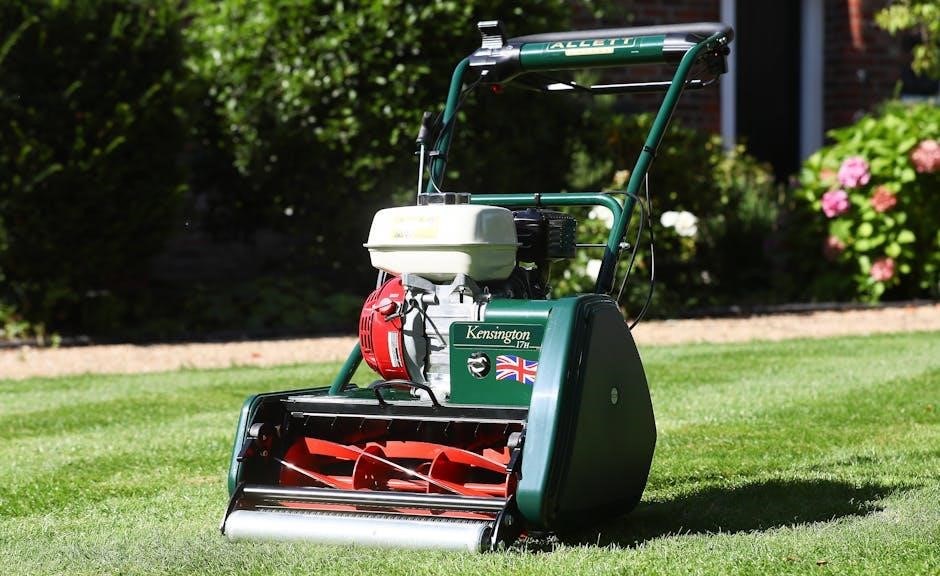
This manual provides essential guidance for Poulan Pro and Craftsman 42-inch models, ensuring optimal performance and longevity through detailed instructions and diagrams.
Welcome! This manual is designed to be your comprehensive resource for the Yard Machine 42-inch riding mower, encompassing both Poulan Pro and Craftsman variations. Understanding your mower’s capabilities and limitations is crucial for safe and efficient operation. This guide details everything from initial setup and routine maintenance to troubleshooting common issues.
Whether you’re a seasoned lawn care professional or a first-time mower owner, this document will provide clear, step-by-step instructions. We’ll cover essential aspects like safety precautions, operating procedures, and detailed maintenance schedules. Proper care will extend the life of your mower and ensure consistently excellent results. Remember to always refer to this manual before performing any service or repair.
Understanding Model Numbers & Variations
Decoding your Yard Machine 42-inch mower’s model number is key to accessing specific parts diagrams and support resources. Variations exist between models manufactured under the Yard Machine, Poulan Pro, and Craftsman brands, despite sharing core components. The model number, typically found on the mower’s deck or engine, identifies the exact configuration of your unit.
These variations can include differences in engine specifications, transmission types, and deck features. Always use the complete model number when ordering replacement parts or contacting customer support. Referencing the incorrect model can lead to compatibility issues. Online resources utilize these numbers to provide tailored information, ensuring you receive accurate guidance for your specific mower version.
Safety Precautions & Operating Guidelines
Prioritize safety when operating your Yard Machine 42-inch riding mower. Always inspect the mowing area for obstacles and ensure no people or pets are nearby. Never allow children to operate the mower, and always disengage the blades before exiting the seat. Wear appropriate safety gear, including eye protection and sturdy footwear.
Familiarize yourself with all controls before starting the engine. Avoid operating the mower on steep slopes or wet grass, as this can lead to loss of control. Regularly check fluid levels and maintain the mower according to the maintenance schedule. Adhering to these guidelines will minimize risks and ensure safe, efficient operation.
Assembly & Initial Setup
Carefully unpack all components, verifying against the parts list. Proper assembly, including deck attachment and control installation, is crucial for safe operation.
Unboxing and Parts Inventory
Upon receiving your Yard Machine 42-inch riding mower, carefully inspect the shipping carton for any signs of damage. Document any damage immediately with the delivery carrier. Once clear, carefully open the carton and remove all components, laying them out in a spacious, well-lit area.
Cross-reference each part with the comprehensive parts list included within the mower’s documentation. This list details every component, from the main frame and cutting deck to smaller items like bolts, nuts, and washers. Ensure all listed parts are present. Missing parts should be reported to the retailer or Yard Machine customer support immediately before proceeding with assembly.
Pay close attention to protective packaging; remove it only when the corresponding part is needed for assembly. Retain the packaging materials and the parts list for future reference, especially regarding warranty claims or replacement part orders. A thorough inventory prevents delays and ensures a smooth assembly process.
Attaching the Cutting Deck
Carefully position the cutting deck beneath the mower chassis, aligning the mounting brackets. Ensure the deck is oriented correctly, with the blades facing downwards and outwards. Refer to the diagrams in your manual for precise bracket alignment – incorrect positioning can cause damage.
Secure the deck using the provided bolts, washers, and nuts. Tighten these fasteners in a crisscross pattern to distribute pressure evenly and prevent warping. Do not fully tighten until all bolts are in place. Double-check the alignment before final tightening with a wrench to the manufacturer’s specified torque.
Inspect the belt routing and ensure it’s properly seated on the pulleys. A misaligned or loose belt will result in inefficient cutting and potential damage. Verify free rotation of the blades before proceeding. A correctly attached cutting deck is crucial for optimal mowing performance and safety.
Installing the Seat and Steering Wheel
Begin by attaching the seat to the mounting plate using the supplied bolts. Ensure the seat is securely fastened and slides smoothly on the adjustment rails, allowing for comfortable operation. Verify the seat latch mechanism functions correctly, locking the seat firmly in place.
Next, install the steering wheel onto the steering shaft. Align the steering wheel with the keyway on the shaft and tighten the retaining nut to the manufacturer’s specified torque. Ensure the steering wheel rotates freely and smoothly without any binding.
Double-check all connections for tightness and proper function. A securely installed seat and steering wheel are vital for operator comfort, control, and safety during mowing operations. Refer to the diagrams for correct orientation and fastening procedures.

Operating Instructions
Mastering the controls and techniques detailed here will unlock the full potential of your Yard Machine 42-inch riding mower, ensuring efficient and safe operation;
Starting the Engine – Cold Start Procedure
Before initiating a cold start, ensure the parking brake is firmly engaged and the blade is disengaged. Begin by turning the ignition key to the ‘ON’ position, allowing the fuel system to prime. Next, locate the choke lever – typically positioned near the throttle – and move it to the ‘CHOKE’ setting. This enriches the fuel mixture for easier ignition in cold conditions.
Now, depress the clutch pedal fully and turn the ignition key further to the ‘START’ position. Hold it until the engine cranks and attempts to start. If the engine doesn’t start within a few seconds, release the key, wait briefly, and repeat the process; Once the engine sputters and begins to run, gradually move the choke lever towards the ‘RUN’ position. Allow the engine to warm up for a few minutes before engaging any mowing functions, monitoring for smooth operation and adjusting the choke as needed.
Starting the Engine – Warm Start Procedure
When starting a warm engine, the procedure differs slightly from a cold start. First, confirm the parking brake is engaged and the blades are disengaged for safety. Turn the ignition key to the ‘ON’ position, allowing the fuel system to cycle. Unlike a cold start, the choke lever should generally remain in the ‘RUN’ position, as the engine retains some residual heat.
Depress the clutch pedal completely and turn the ignition key to the ‘START’ position. The engine should start relatively quickly without prolonged cranking. If it hesitates, briefly depress the choke lever, but avoid over-choking, which can flood the engine. Once running, release the key and allow the engine to stabilize. Monitor the engine’s performance, and if necessary, make minor adjustments to the throttle for a smooth idle before commencing mowing operations.
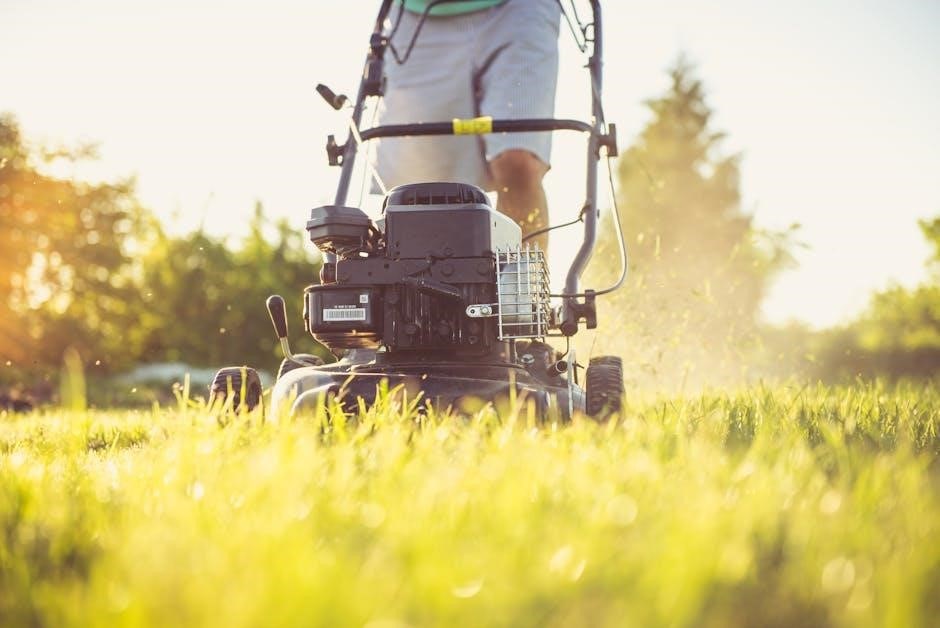
Mowing Techniques for Optimal Results
Achieving a pristine lawn with your Yard Machine 42-inch mower requires employing effective mowing techniques. Overlap each mowing pass by a few inches to prevent scalping and ensure a consistent cut. Vary your mowing pattern with each subsequent cut to avoid creating ruts and promote upright grass growth. Maintain a moderate mowing speed, allowing the blades to effectively lift and cut the grass.
Avoid mowing wet grass, as it can clump and clog the deck, leading to an uneven finish. For exceptionally tall grass, raise the cutting height initially and gradually lower it with subsequent passes. Regularly clear any accumulated debris from the underside of the deck to maintain optimal airflow and cutting performance. Prioritize safety by always observing your surroundings and avoiding obstacles.
Adjusting Cutting Height
Your Yard Machine 42-inch riding mower features adjustable cutting heights to accommodate varying grass lengths and preferences. Typically, a lever or dial controls the deck height, offering a range of settings from low to high. Consult your specific model’s diagram to locate the cutting height adjustment mechanism. Ensure the mower is turned off and the blades have completely stopped before making any adjustments.
Lower settings are ideal for well-maintained lawns, while higher settings are recommended for taller grass or uneven terrain. Incremental adjustments are best; avoid drastic changes in height between cuts. Regularly check the tire pressure, as uneven pressure can affect the levelness of the cut. A consistent cutting height contributes to a healthier, more visually appealing lawn.
Using the Mower’s Speed Settings
The Yard Machine 42-inch riding mower often incorporates multiple speed settings, typically controlled by a foot pedal or lever. Understanding these settings optimizes mowing efficiency and ensures a quality cut. Lower speeds are recommended for thick grass, rough terrain, or when bagging clippings to prevent overloading. Higher speeds are suitable for dry, even lawns and open areas.
Experiment with different speeds to find the optimal setting for your lawn conditions. Avoid excessively high speeds in challenging areas, as this can lead to uneven cutting or scalping. Smooth transitions between speeds are crucial for maintaining control and a consistent mowing pattern. Always prioritize safety and adjust speed accordingly.
Maintenance & Servicing
Regular upkeep, including oil changes, filter replacements, and blade sharpening, is vital for preserving the performance and extending the lifespan of your mower.
Regular Maintenance Schedule
To ensure peak performance and prevent premature wear, adhere to a consistent maintenance schedule for your Yard Machine 42-inch riding mower. Before each use, inspect the mower for loose parts, damage, and proper tire inflation. After every five hours of operation, clean the mowing deck thoroughly, removing grass clippings and debris to prevent corrosion and maintain cutting efficiency.
Every 25 hours, check and top off all fluid levels – oil, fuel, and coolant (if applicable). Inspect the air filter and clean or replace it as needed. Monthly, sharpen or replace the mower blades for a clean, even cut. Annually, perform a complete inspection, including lubricating all moving parts, changing the oil and filter, and inspecting the spark plug. Following this schedule will significantly extend the life of your mower and minimize costly repairs.

Oil Change Procedure
Regular oil changes are crucial for maintaining your Yard Machine 42-inch riding mower’s engine health. First, warm up the engine for a few minutes to allow the oil to flow more freely. Locate the oil drain plug underneath the engine and position a drain pan to catch the used oil. Carefully remove the plug and allow the oil to drain completely.
Once drained, reinstall the plug securely. Next, locate the oil fill cap and remove it. Using a funnel, pour in the recommended amount of new oil (refer to your manual for the correct type and quantity). Check the oil level with the dipstick, ensuring it’s within the acceptable range. Finally, dispose of the used oil responsibly at a designated recycling center.
Air Filter Cleaning & Replacement
Maintaining a clean air filter is vital for optimal engine performance. Locate the air filter housing, typically near the engine. Remove the cover to access the filter. Inspect the filter for dirt and debris; if it’s lightly soiled, you can attempt to clean it. Gently tap the filter to remove loose particles, or use low-pressure compressed air, blowing from the inside out.
If the filter is heavily soiled or damaged, it requires replacement. Ensure you use the correct replacement filter specified in your Yard Machine manual. Install the new filter securely within the housing, and reattach the cover, ensuring a tight seal. Regularly check and clean or replace the air filter as needed for peak engine efficiency.
Spark Plug Inspection & Replacement
Regular spark plug inspection is crucial for reliable engine starting and performance. Disconnect the spark plug wire before beginning. Remove the spark plug using a spark plug wrench. Inspect the electrode for wear, fouling, or damage; a healthy plug should have a tan or gray color. Clean a lightly fouled plug with a wire brush, but replace if heavily soiled or damaged.
To install a new spark plug, gap it correctly according to your manual’s specifications. Thread the plug in by hand to avoid cross-threading, then tighten it with the wrench to the recommended torque. Reconnect the spark plug wire securely. Replace spark plugs annually or as needed for optimal ignition.
Blade Sharpening & Balancing
Sharp mower blades are essential for a clean cut and healthy lawn. Disconnect the spark plug wire for safety. Remove the blades, noting their position for correct reinstallation. Inspect blades for damage – replace if bent or cracked. Sharpen dull blades using a metal file or a blade grinder, maintaining the original angle.
After sharpening, balance the blades using a blade balancer. An unbalanced blade causes excessive vibration and damage. Add material to the lighter side until balanced. Reinstall the blades, ensuring they are securely tightened to the correct torque specification. Regular sharpening and balancing extend blade life and improve mowing quality.
Troubleshooting Common Issues
Diagnose engine start failures, excessive vibrations, cutting deck problems, and transmission issues with our guide, ensuring swift resolutions for peak performance.

Engine Won’t Start – Diagnosis & Solutions
If your Yard Machine 42-inch mower engine fails to start, begin by checking the fuel level and ensuring the fuel shut-off valve is open. Next, inspect the spark plug for fouling or damage; a replacement may be necessary. Confirm the spark plug wire is securely connected.
Verify the battery is fully charged and the connections are clean and tight. A weak battery is a common culprit. Examine the safety switches – the seat switch and blade engagement switch – ensuring they are functioning correctly. These switches prevent starting if not engaged properly.

If the engine cranks but doesn’t fire, suspect a carburetor issue. Cleaning or rebuilding the carburetor might be required. Lastly, check the air filter for obstructions; a clogged filter restricts airflow. Following these steps systematically will help pinpoint and resolve the starting problem.
Mower Vibrates Excessively – Identifying the Cause
Excessive vibration in your Yard Machine 42-inch mower often signals an imbalance in the cutting deck. Begin by thoroughly inspecting the blades for damage, dullness, or uneven wear. A bent or dull blade is a primary cause of vibration. Ensure all blade bolts are tightened to the manufacturer’s specified torque;
Check the blade adapter for any signs of cracking or damage, as this can contribute to imbalance. Inspect the spindles and bearings for wear or looseness; worn bearings can cause significant vibration. Also, verify the tires are properly inflated to the recommended pressure.
If the vibration persists, examine the engine mounting bolts to ensure they are secure. Loose engine mounts can amplify vibrations. Finally, a warped or damaged cutting deck can also induce vibration; a professional inspection may be needed to assess deck integrity.
Cutting Deck Issues – Uneven Cut or Noise
An uneven cut or unusual noises emanating from the cutting deck of your Yard Machine 42-inch mower typically indicate blade-related problems. First, inspect the blades for sharpness, damage (bends or cracks), and proper installation. Dull blades cause tearing instead of clean cuts, resulting in an uneven appearance.
Check for obstructions under the deck, such as accumulated grass clippings or debris, which can interfere with blade rotation and create noise. Ensure the deck is level; an unlevel deck leads to scalping in some areas and uncut grass in others.
Inspect the deck spindles and bearings for wear or damage. Worn bearings can cause a grinding or rattling noise and contribute to an uneven cut. Finally, verify the blade adapter is securely attached and undamaged, as this component is crucial for blade stability.
Transmission Problems – Slipping or No Movement
Experiencing slipping or a complete lack of movement with your Yard Machine 42-inch riding mower often points to transmission issues. Initially, check the transmission fluid level; low fluid can cause slipping. Ensure you’re using the correct type of transmission fluid as specified in the manual.
Inspect the transmission belt for wear, cracks, or breakage. A damaged belt won’t effectively transfer power from the engine to the wheels. If the belt appears fine, examine the transmission linkage for proper adjustment and any signs of damage or disconnection.
Severe issues, like complete failure to move, may indicate internal transmission damage requiring professional repair or replacement. Always disconnect the spark plug before inspecting the transmission components for safety.

Parts Diagrams & Resources
Locate detailed parts diagrams online for easy identification, facilitating efficient replacement of key components and ensuring your Yard Machine mower’s continued operation.
Locating Parts Diagrams Online
Accessing parts diagrams for your Yard Machine 42-inch riding mower is now remarkably straightforward. Several online resources offer comprehensive schematics to aid in identification and repair. Begin by visiting the manufacturer’s official website; often, a dedicated “Parts” or “Support” section houses downloadable diagrams categorized by model number. Alternatively, numerous third-party websites specialize in outdoor power equipment parts, providing interactive diagrams where you can click on components to view their part numbers and availability.
When searching, ensure you have your mower’s complete model number readily available. This crucial identifier guarantees you’re viewing the correct diagram for your specific machine. These diagrams typically illustrate exploded views of the mower’s various systems – engine, deck, transmission, and electrical – making it easier to pinpoint the exact part you need. Utilizing these online resources empowers you to perform repairs confidently and efficiently, minimizing downtime and maximizing the lifespan of your Yard Machine mower.
Identifying Key Components
Understanding the core components of your Yard Machine 42-inch riding mower is fundamental for effective maintenance and repair. Key areas include the engine, responsible for power; the cutting deck, which houses the blades and determines cut quality; and the transmission, governing speed and movement. The steering system, encompassing the steering wheel and linkages, controls direction, while the seat and safety features ensure operator comfort and protection.
Familiarize yourself with the location of essential parts like the oil filter, air filter, spark plug, and fuel tank. These are frequently accessed during routine servicing. The battery and electrical wiring harness power the starter and other electrical systems. Referencing parts diagrams (found online – see section 8) will visually aid in component identification. Knowing these components allows for targeted troubleshooting and efficient replacement of worn or damaged parts, keeping your mower running smoothly for years to come.
Finding Replacement Parts
Securing genuine replacement parts is crucial for maintaining the integrity and performance of your Yard Machine 42-inch riding mower. Begin by noting the mower’s model number – essential for accurate part identification. Online retailers specializing in outdoor power equipment parts are excellent resources, often offering exploded views and compatibility checkers. Authorized service centers provide guaranteed genuine parts and expert advice.
When ordering, always double-check part numbers against your mower’s parts diagram (refer to section 9). Consider using the mower’s serial number for precise matching. Be wary of generic or aftermarket parts, as they may not meet original specifications. Websites often allow searching by part number or component description. Keep a record of purchased parts for future reference and warranty claims. Prioritizing quality replacement parts ensures continued reliable operation and extends the lifespan of your mower.

Warranty Information & Support
Your Yard Machine 42-inch riding mower is backed by a manufacturer’s warranty, protecting against defects in materials and workmanship. Warranty duration varies depending on the component and usage – consult your original purchase documentation for specific details. Retain your proof of purchase (receipt or invoice) as proof of date and location of purchase; it’s essential for any warranty claim.
For warranty service, contact an authorized Yard Machine service center. Avoid attempting repairs yourself, as this may void the warranty. Manufacturer support is available through their website or customer service hotline, offering assistance with warranty claims, parts inquiries, and technical support. Keep your mower’s model and serial number handy when contacting support. Understanding your warranty rights ensures a hassle-free experience should any issues arise.